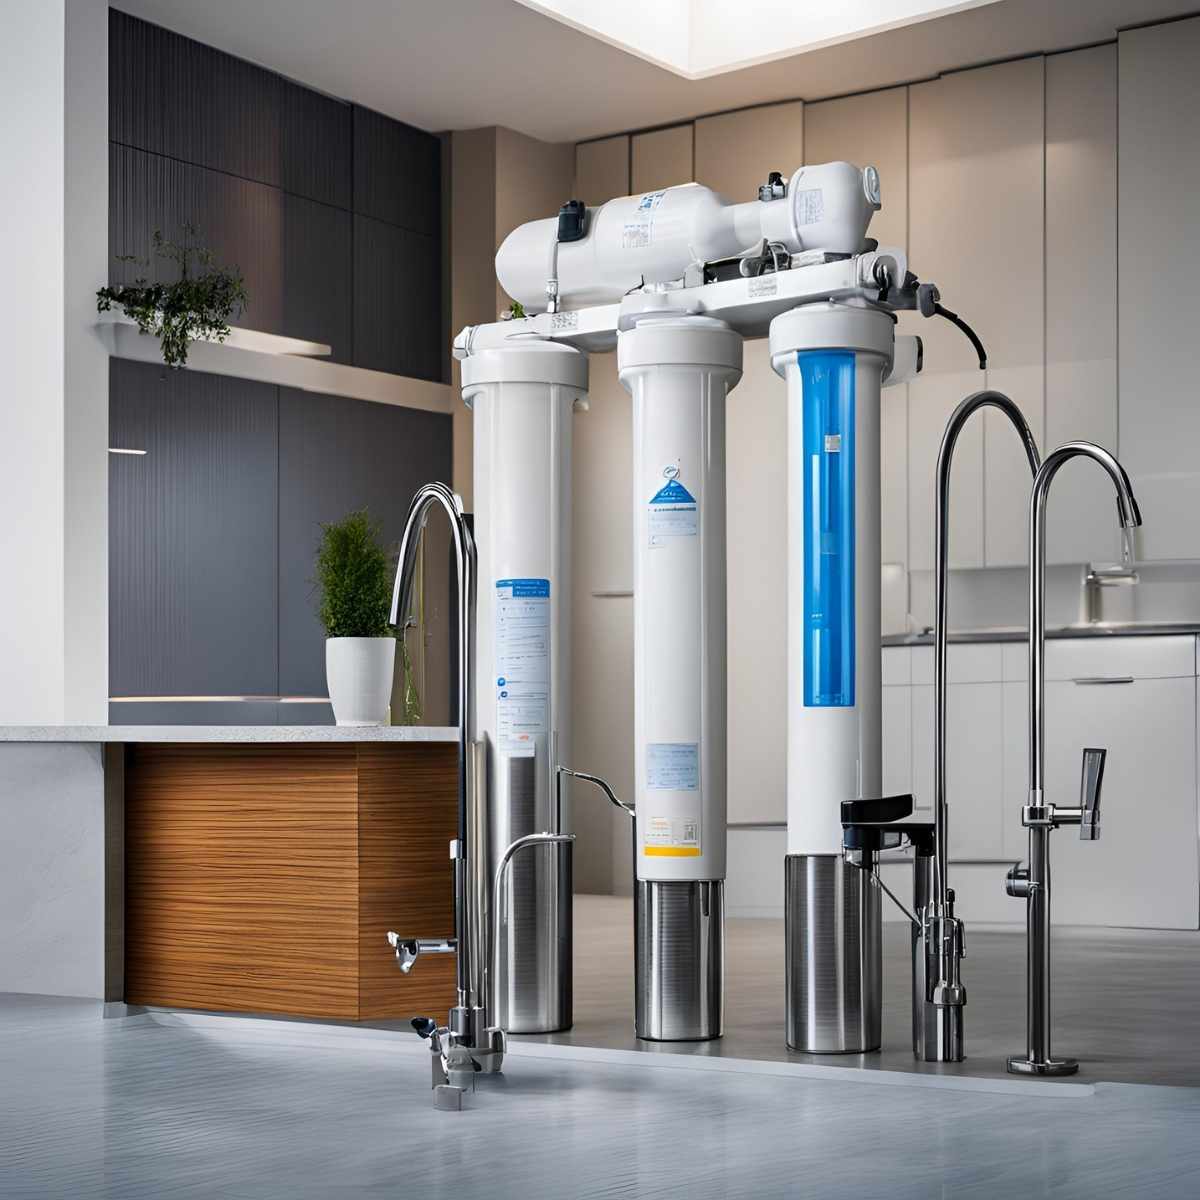
Having a high-quality shower filter, such as a Sprite shower filter, is essential for maintaining clean and healthy water in your home. Over time, the filter cartridge in your Sprite shower filter will accumulate impurities and require replacement. If you don’t replace the filter regularly, it can become less effective at removing chlorine, sediments, and other contaminants from your shower water. In this guide, we’ll provide a step-by-step process on how to replace a Sprite shower filter, along with tips for maintaining your shower filter for long-term use.
Why Should You Replace Your Sprite Shower Filter?
Before diving into the replacement process, let’s discuss why changing your shower filter is essential:
- Ensures Clean Water: Over time, your shower filter accumulates impurities and contaminants. Replacing it ensures that your water stays fresh and clean.
- Maintains Water Pressure: A clogged filter can reduce water pressure. Changing the filter will keep the water flow steady.
- Prevents Bacterial Growth: A filter left unchanged for too long can become a breeding ground for bacteria and mold.
- Improves Skin and Hair Health: Filtered water is gentler on your skin and hair, preventing dryness and irritation caused by chlorine and heavy metals.
How Often Should You Replace a Sprite Shower Filter?
The frequency of replacement depends on your water quality and usage. Generally, you should replace the filter every 6 months or after 10,000 gallons of water use, whichever comes first. However, if you notice a decrease in water pressure or a change in water quality, it may be time to replace it sooner.
Tools and Materials Needed
Before you begin the replacement process, gather the following materials:
- A new Sprite shower filter cartridge (compatible with your model)
- Adjustable wrench or pliers (optional)
- Teflon tape (optional, for preventing leaks)
- A clean cloth or towel
Step-by-Step Guide to Replacing a Sprite Shower Filter
Step 1: Turn Off the Water Supply
Before starting the replacement process, turn off the water supply to avoid leaks and spills. You don’t necessarily need to shut off the entire house’s water supply—just make sure the shower is off.
Step 2: Remove the Shower Filter Housing
Most Sprite shower filters come in two parts: the filter housing and the cartridge inside. To remove the housing:
- Hold the shower filter firmly with one hand.
- Turn it counterclockwise to unscrew it from the showerhead or handle.
- If it’s too tight, use an adjustable wrench or pliers for assistance.
- Place a towel underneath to catch any dripping water.
Step 3: Remove the Old Filter Cartridge
Once the housing is open, locate the old filter cartridge inside. Carefully remove it by pulling it out. If the filter has been in use for a long time, it might be slightly discolored due to accumulated impurities.
Step 4: Clean the Filter Housing
Before installing the new cartridge, clean the inside of the filter housing using a damp cloth. This removes any debris or mineral buildup that may have accumulated.
Step 5: Insert the New Filter Cartridge
Take the new Sprite shower filter cartridge and place it inside the housing. Ensure that it is correctly aligned according to the manufacturer’s instructions.
Step 6: Reassemble the Shower Filter
Once the new cartridge is in place:
- Screw the filter housing back together, ensuring it is tight but not overly tightened.
- If necessary, apply Teflon tape to the showerhead threads before reattaching the filter to prevent leaks.
Step 7: Run Water Through the Filter
After replacing the filter, turn on the shower and let the water run for 5–10 minutes. This helps flush out any loose carbon particles from the new filter and ensures that the system is working correctly.
Troubleshooting Common Issues
If you encounter any issues after replacing the Sprite shower filter, here are some solutions:
- Water Pressure Is Low:
- Ensure the filter is installed correctly and aligned properly.
- Remove and reinstall the filter to check for blockages.
- Check for mineral deposits in the showerhead and clean if necessary.
- Water Leaks from the Filter:
- Make sure the filter housing is tightly secured.
- Use Teflon tape on the threads to prevent leaks.
- Water Has a Slight Discoloration:
- This is normal for a new filter. Let the water run for a few minutes to clear out loose carbon particles.
Maintaining Your Sprite Shower Filter for Longevity
To extend the life of your Sprite shower filter and ensure optimal performance, follow these maintenance tips:
- Regularly Check the Filter: Inspect the filter every few months for signs of clogging or reduced water pressure.
- Use Filtered Water for Cleaning: If possible, use filtered water for cleaning your shower to minimize the buildup of impurities.
- Keep an Extra Cartridge Handy: Having a spare cartridge ensures you can replace it immediately when needed.
- Clean the Showerhead: Regularly clean your showerhead to prevent mineral buildup that can affect the filter’s efficiency.
Conclusion
Replacing a Sprite shower filter is a simple yet crucial task to ensure clean, purified water for your shower. By following the steps outlined in this guide, you can easily replace the filter cartridge and maintain optimal water quality. Regular maintenance and timely replacement will not only prolong the life of your shower filter but also enhance your overall showering experience. If you’re looking for high-quality Sprite shower filters and other water filtration products, check out our collection at Cuoll for the best deals and options available.
By taking care of your shower filter, you’re investing in better skin, hair, and overall health. Start today by replacing your Sprite shower filter and enjoy the benefits of clean, chlorine-free shower water!


