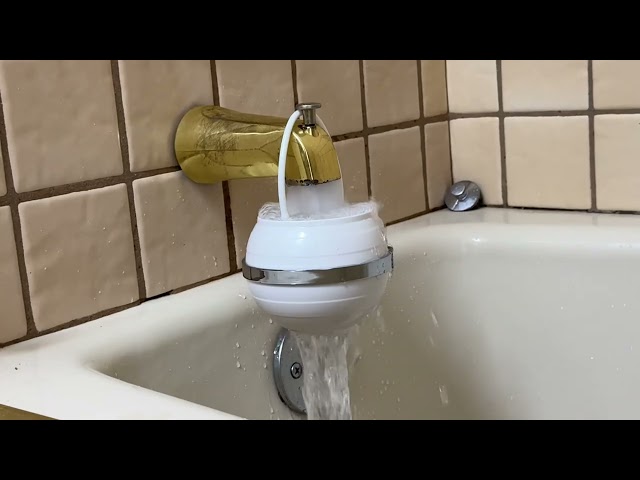
If your bathtub faucet is leaking, outdated, or not functioning properly, replacing it can improve both the aesthetics and efficiency of your bathroom. Learning how to replace a bathtub faucet is a valuable skill that can save you money on plumbing costs and enhance your home improvement expertise. In this guide, we’ll walk you through the entire process of replacing your bathtub faucet with easy-to-follow steps.
Why Should You Replace a Bathtub Faucet?
Before diving into the replacement process, it’s essential to understand why you might need to change your bathtub faucet:
- Leaky faucet – A dripping faucet wastes water and increases your utility bills.
- Rust and corrosion – Over time, metal components wear out due to water exposure.
- Outdated design – A new faucet can improve your bathroom’s look and feel.
- Poor water pressure – A faulty faucet can impact water flow.
- Difficult operation – If the faucet handles are stiff or hard to turn, a replacement is necessary.
Tools and Materials Needed
Before you begin, gather the necessary tools and materials to make the process smooth:
- Adjustable wrench
- Screwdriver (Phillips and flat-head)
- Plumber’s tape (Teflon tape)
- Pipe wrench
- Bucket
- Towels or rags
- Replacement bathtub faucet
- Plumber’s putty (if required)
- Silicone caulk (optional)
Step-by-Step Guide to Replacing a Bathtub Faucet
Step 1: Turn Off the Water Supply
Before you start working on the faucet, turn off the water supply to prevent any accidental leaks. If there are no dedicated shutoff valves for the bathtub, turn off the main water supply to your home. Open the faucet handles to drain any remaining water.
Step 2: Remove the Old Faucet
The removal process depends on the type of faucet you have. The most common types include:
1. Compression Faucet (Two Handles for Hot and Cold Water)
- Use a screwdriver to remove the handle screws.
- Take off the faucet handles.
- Use a wrench to unscrew the stem assembly.
- Remove the faucet body from the wall or tub.
2. Single-Handle Faucet
- Remove the handle screw with a screwdriver.
- Detach the handle from the stem.
- Use an adjustable wrench to unscrew the faucet body.
3. Wall-Mounted Faucet
- Use a pipe wrench to carefully remove the faucet from the pipe connections.
- Check for old plumber’s tape or debris inside the pipes.
Step 3: Prepare the Area for Installation
- Clean the pipe threads and remove any old plumber’s tape.
- Check for leaks or rust in the pipes before installing the new faucet.
- If necessary, apply plumber’s putty or silicone caulk to create a watertight seal.
Step 4: Install the New Bathtub Faucet
1. Apply Plumber’s Tape
Wrap the threads of the water supply pipes with plumber’s tape. This helps create a secure, leak-free connection.
2. Attach the New Faucet
- Align the new faucet with the pipe connections.
- Use a wrench to tighten the faucet securely without over-tightening.
- Ensure the handles (if applicable) are properly aligned and easy to turn.
3. Install the Handles and Other Components
- Secure the handles onto the faucet stems.
- Attach any decorative plates or covers included with your new faucet.
Step 5: Turn the Water Supply Back On
- Slowly turn on the water supply.
- Test the faucet by running both hot and cold water.
- Check for any leaks around the connections.
- If leaks are present, tighten the connections or apply additional plumber’s tape.
Step 6: Seal and Finish
- If required, apply a thin layer of silicone caulk around the base of the faucet to prevent water from seeping behind the wall.
- Wipe off any excess caulk and let it dry according to the manufacturer’s instructions.
Additional Tips for a Successful Faucet Replacement
- Choose a high-quality faucet – A durable faucet will last longer and function better.
- Measure the existing connections – Ensure the new faucet matches your plumbing setup.
- Check water pressure – If your water pressure is low after installation, verify that no debris is blocking the pipes.
- Consider professional help – If you’re unsure about plumbing connections, consulting a plumber can prevent costly mistakes.
Frequently Asked Questions (FAQs)
1. How long does it take to replace a bathtub faucet?
Replacing a bathtub faucet typically takes 1 to 2 hours, depending on your experience and the complexity of your setup.
2. Can I replace a bathtub faucet without turning off the water?
No, you must turn off the water supply before replacing the faucet to avoid leaks and water damage.
3. What if my new faucet doesn’t fit my existing setup?
Check your pipe size and faucet type before purchasing. You may need adapters if the sizes don’t match.
4. How often should I replace my bathtub faucet?
A well-maintained faucet can last 10–15 years before needing replacement.
5. Do I need professional help to replace a bathtub faucet?
If you’re comfortable using basic plumbing tools, DIY replacement is possible. However, if you encounter major plumbing issues, hiring a professional is recommended.
Conclusion
Replacing a bathtub faucet is a straightforward home improvement project that can enhance your bathroom’s functionality and appearance. By following this step-by-step guide, you can successfully replace your faucet, ensuring a leak-free and stylish upgrade. If you’re looking for high-quality bathtub faucets, water filters, and other bathroom accessories, check out our wide range of products at Cuoll.Visit our facebook for more informations.


