
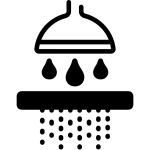

🚿 Introduction: Why You Should Replace Your Shower Filter
Hard water and contaminated water can cause serious skin problems, hair damage, and even respiratory issues. A shower filter helps eliminate chlorine, heavy metals, rust, bacteria, and foul odors from your water supply. However, over time, filters clog up and stop working efficiently. That’s why learning how to replace shower filter is essential for maintaining a clean and healthy lifestyle.
Whether you’re using a handheld shower filter, rain shower filter, or universal shower head filter, this comprehensive guide will walk you through everything you need to know about replacing your shower filter quickly and safely.
🛠️ Tools & Materials You’ll Need
Before we dive into how to replace shower filter, here’s what you’ll need:
- New replacement shower filter (compatible with your current setup)
- Adjustable wrench or pliers
- Teflon tape (plumber’s tape)
- A clean rag or towel
- Optional: White vinegar (for cleaning buildup)
⏰ When to Replace a Shower Filter
Your water may look clear, but harmful contaminants can build up silently. Here’s when you should consider replacing the shower filter:
🔄 Average Replacement Time
- Every 6 months for most filters
- Every 3 months for high-sediment areas
- Follow the manufacturer’s guideline
⚠️ Signs It’s Time to Replace Your Filter:
- Decreased Water Pressure – a clogged filter restricts flow
- Bad Odor or Metallic Smell – filter is no longer removing chlorine or sulfur
- Visible Discoloration – brown, yellow, or cloudy water
- Dry or Irritated Skin & Hair – due to hard water minerals
- Limescale or Rust Buildup on shower heads
🧼 Step-by-Step Guide: How to Replace Shower Filter
Now let’s go step by step so you can easily replace your shower filter at home without hiring a plumber.
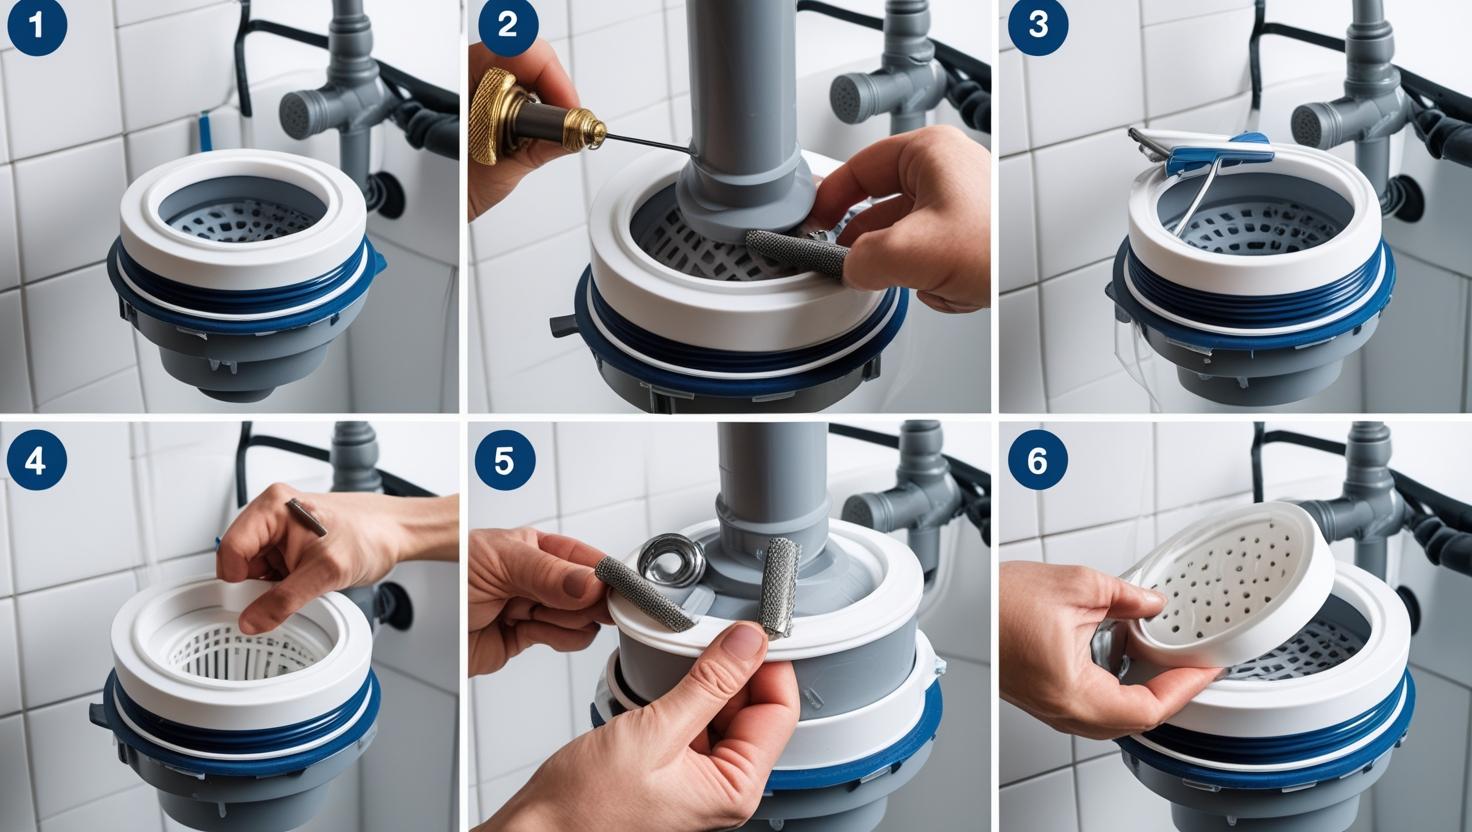
✅ Step 1: Turn Off the Shower
Make sure no water is running. For extra safety, you may want to shut off the main water supply if your shower setup is older or fragile.
✅ Step 2: Remove the Shower Head or Old Filter
Use an adjustable wrench or pliers to unscrew the shower head or filter unit. Turn counterclockwise to loosen. Use a rag to avoid scratching chrome surfaces.
Tip: If it’s too tight, soak the joint with vinegar or warm water to loosen mineral deposits.
✅ Step 3: Clean the Threads
Before installing the new filter:
- Wipe the threads clean
- Remove any old plumber’s tape or debris
- Use vinegar and a brush for deep cleaning if needed
✅ Step 4: Apply Teflon Tape
Wrap Teflon tape (plumber’s tape) around the threads of the shower arm. This ensures a watertight seal and prevents leaks.
Wrap 2–3 layers clockwise around the threads.
✅ Step 5: Install the New Shower Filter
Screw the new shower filter onto the arm by hand first. Then, use a wrench or pliers to tighten it, but don’t over-tighten—it can crack plastic parts.
Some filters come in two parts: a filter housing and a replaceable cartridge. If that’s your case:
- Unscrew the housing
- Insert the new cartridge
- Reassemble the unit
✅ Step 6: Reattach the Shower Head
Once the filter is secure, attach the shower head to the new filter unit.
✅ Step 7: Run Water to Flush the Filter
Turn on the water and let it run for 5–10 minutes. This:
- Flushes out any carbon dust
- Activates the filter
- Checks for leaks
If water leaks around the threads, tighten the filter a little more or add extra Teflon tape.
💡 Pro Tips for Replacing Your Shower Filter
- Mark your calendar to replace the filter regularly (every 3–6 months)
- Choose multi-stage filters with KDF, activated carbon, and ceramic beads for best results
- Avoid cross-threading; always screw in straight
- Use a filter indicator if your model supports it
🌍 Benefits of Replacing Shower Filters Regularly
Still wondering why it’s important to know how to replace shower filter on time? Here are the top benefits:
✅ Healthier Skin & Hair
Reduces exposure to chlorine and hard minerals that cause dryness and itchiness.
✅ Eliminates Bad Odors
Removes sulfur, rust, and other contaminants causing unpleasant smells.
✅ Prevents Mold & Bacteria
Old filters can harbor bacteria; replacing them ensures a hygienic shower.
✅ Extends Plumbing Life
Clean water reduces wear on shower heads and plumbing fixtures.
🔁 How to Replace Different Types of Shower Filters
1. Inline Shower Filter
This attaches between your shower arm and showerhead.
👉 To replace: Remove the old inline filter and screw in a new one.
2. Showerhead with Built-in Filter
You may need to replace the internal cartridge.
👉 To replace: Unscrew the head, open the casing, insert a new cartridge.
3. Handheld Shower Filter
Often includes a replaceable cartridge in the handle.
👉 To replace: Open the handle or head portion, insert new filter cartridge.
🔧 Shower Filter Replacement FAQ
❓How long does it take to replace a shower filter?
👉 Usually takes 10–15 minutes.
❓Can I reuse my old shower filter?
👉 No. Old filters lose effectiveness and may release trapped contaminants.
❓Do all shower filters fit all types of showers?
👉 No. Always check compatibility—look for “universal fit” or match thread size (usually ½ inch NPT for most homes).
❓Is a plumber required to replace a shower filter?
👉 Not at all. It’s a simple DIY job that requires minimal tools.
🛍️ Top Shower Filter Options Available at Cuoll
At Cuoll, we offer a wide range of high-quality water purification solutions. Here are a few of our bestselling shower filters:
🔹 Cuoll Deluxe Multi-Stage Shower Filter
- Removes 99% of chlorine, heavy metals, rust
- Easy to install
- Lasts 6 months per cartridge
🔹 Cuoll Vitamin C Handheld Shower Filter
- Softens hard water
- Infused with Vitamin C beads for skin nourishment
- Ideal for sensitive skin
🔹 Cuoll Rain Shower Head Filter Combo
- Built-in filtration + luxury rain shower experience
- Universal fit with adjustable pressure
🛒 Shop now at cuoll.com to find the perfect filter for your needs!
🧾 Final Thoughts: Stay Healthy with Clean Showers
Replacing your shower filter is not just about water—it’s about health. Learning how to replace shower filter properly ensures your skin, hair, and respiratory system are protected from chlorine, rust, and other invisible dangers. With this step-by-step guide, you now have the confidence to tackle this easy home improvement task.
👉 Don’t wait for your water to smell bad—replace your shower filter every 3–6 months for the best results.